
Lesson 13 - MySQL Step By Step: Export
Today we'll try to export a database that will certainly come in handy many times.
Export
Export (or also "backup") is a file with SQL commands that can be used to backup, migrate or import a database.
Export can be divided into:
- complete export - the file will contain both the structure of tables and their data
- structure export - the file will contain only the database
structure
- such an export can contain all or only selected tables
- data export - the file will contain only table data
- we can also specify which tables to include
We can divide the types of imports in this way too, as we'll probably import this file eventually.
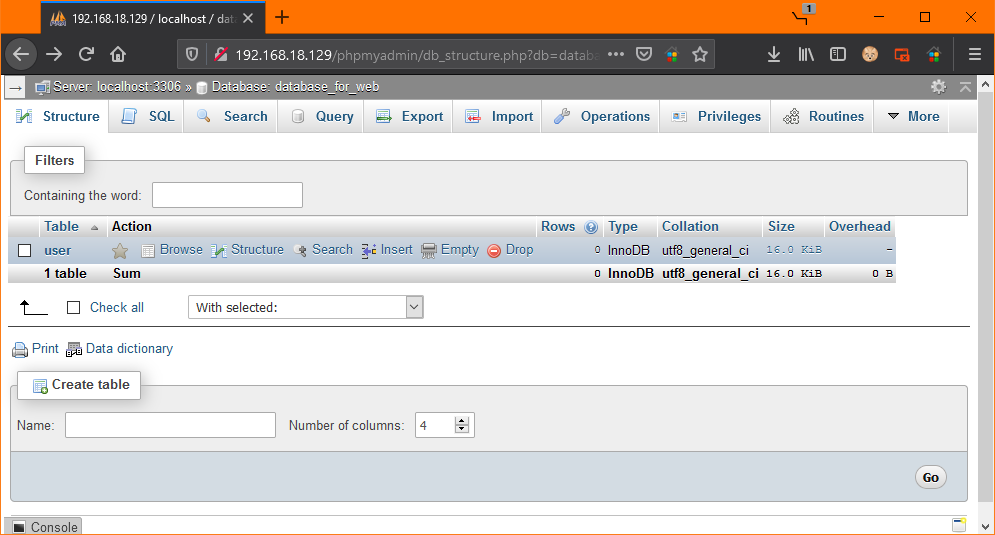
Last time we deleted all database data, in phpMyAdmin we should have only one
empty user table:
We must first enter some data into the database so that we can export it. If you deleted them in the last lesson, we can re-insert a few records from the last lesson with this SQL command:
INSERT INTO `user` (
    `first_name`,
    `last_name`,
    `birth_date`,
    `articles_count`
)
VALUES ('John', 'Smith', '1984-11-03', 17),
       ('Thomas', 'Brown', '1989-02-01', 6),
       ('Jack', 'Newman', '1972-12-20', 9);
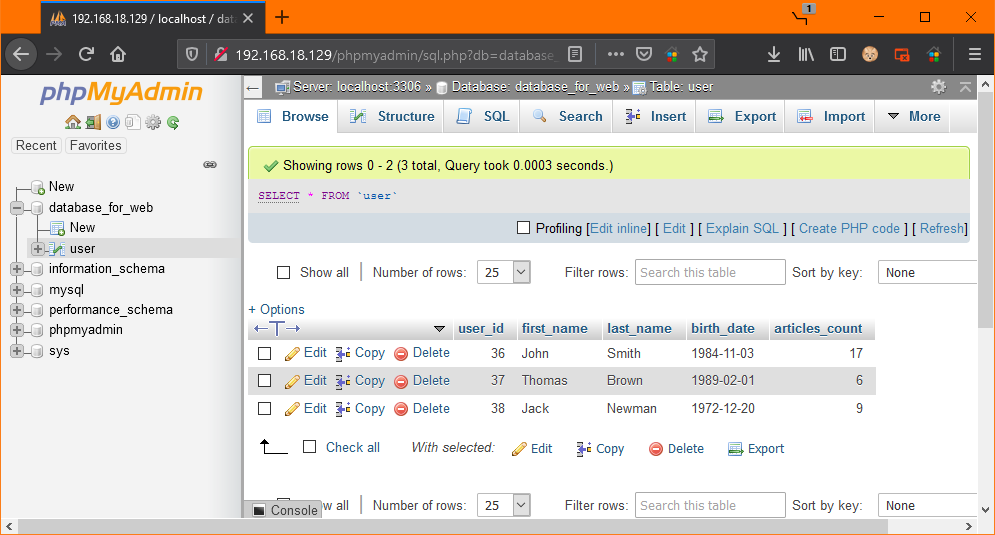
Now we have three records of people in the database:
Data Export
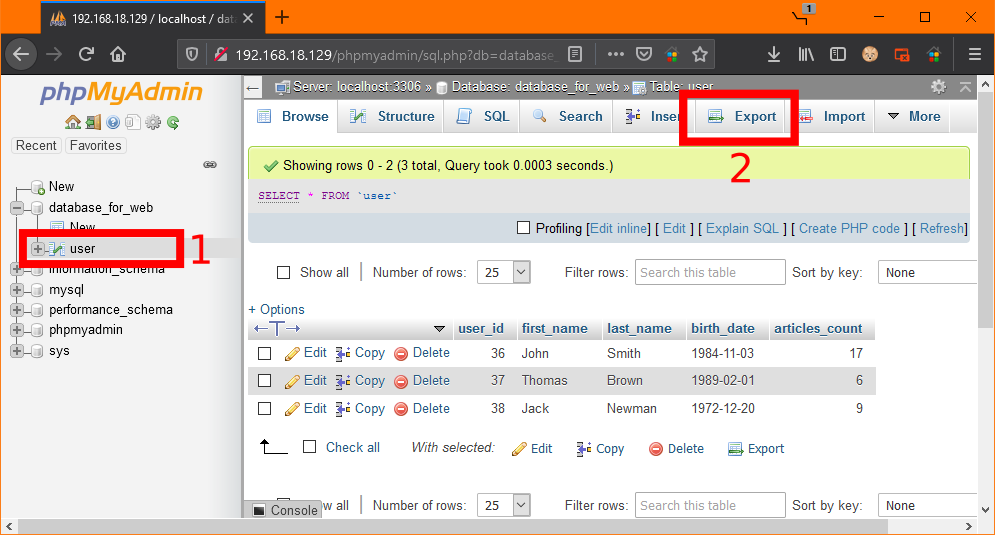
Let's try to export the data of a specific table first. The easiest way to do this is to click on a specific table on the left-hand side navigation menu and then click on the Export button in the top bar:
After clicking the Export button, we'll see this window:
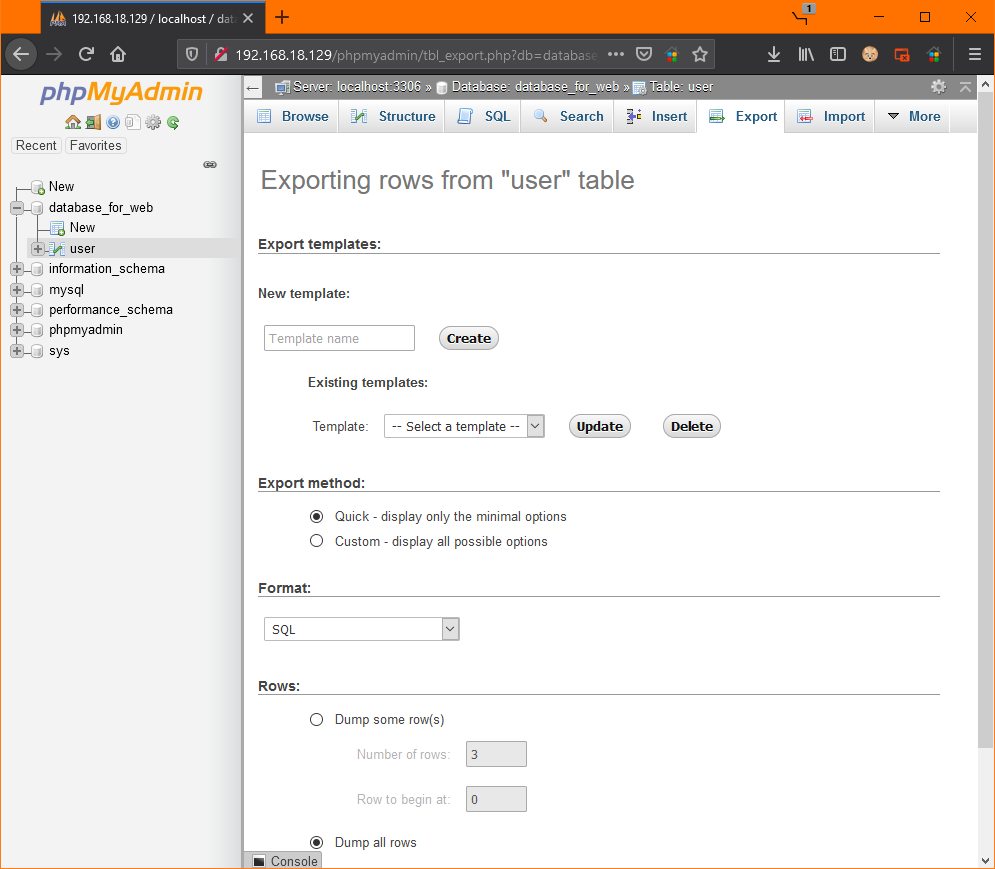
This method of export is fast and also suitable if we don't need to specify, for example, the character set, file compression, additional commands and other details. We can choose the export file format for this method:
- CSV - often used for export to MS Excel, data are separated by a comma
- JSON
- widely used in JavaScript and web application APIs
- XML, PHP array and more.
We'll only need the SQL format, which is set as the default. It's also the
most suitable for future exports. Below we can specify the rows we want to
export. We'll try to export all records except the first one. We set the field
"Row to begin at" to 1 and click on the
Go button at the bottom left.
The download of the file will start, if we open it in a text editor, its content will be as follows:
-- phpMyAdmin SQL Dump
-- version 4.9.5deb2
-- https://www.phpmyadmin.net/
--
-- Host: localhost:3306
-- Generation Time: May 07, 2021 at 03:55 PM
-- Server version: 8.0.23-0ubuntu0.20.04.1
-- PHP Version: 7.4.3

SET SQL_MODE = "NO_AUTO_VALUE_ON_ZERO";
SET AUTOCOMMIT = 0;
START TRANSACTION;
SET time_zone = "+00:00";


/*!40101 SET @OLD_CHARACTER_SET_CLIENT=@@CHARACTER_SET_CLIENT */;
/*!40101 SET @OLD_CHARACTER_SET_RESULTS=@@CHARACTER_SET_RESULTS */;
/*!40101 SET @OLD_COLLATION_CONNECTION=@@COLLATION_CONNECTION */;
/*!40101 SET NAMES utf8mb4 */;

--
-- Database: `database_for_web`
--

-- --------------------------------------------------------

--
-- Table structure for table `user`
--

CREATE TABLE `user` (
  `user_id` int NOT NULL,
  `first_name` varchar(60) NOT NULL,
  `last_name` varchar(60) NOT NULL,
  `birth_date` date NOT NULL,
  `articles_count` int NOT NULL
) ENGINE=InnoDB DEFAULT CHARSET=utf8;

--
-- Dumping data for table `user`
--

INSERT INTO `user` (`user_id`, `first_name`, `last_name`, `birth_date`, `articles_count`) VALUES
(2, 'Thomas', 'Brown', '1989-02-01', 6),
(3, 'Jack', 'Newman', '1972-12-20', 9);

--
-- Indexes for dumped tables
--

--
-- Indexes for table `user`
--
ALTER TABLE `user`
  ADD PRIMARY KEY (`user_id`);

--
-- AUTO_INCREMENT for dumped tables
--

--
-- AUTO_INCREMENT for table `user`
--
ALTER TABLE `user`
  MODIFY `user_id` int NOT NULL AUTO_INCREMENT, AUTO_INCREMENT=39;
COMMIT;

/*!40101 SET CHARACTER_SET_CLIENT=@OLD_CHARACTER_SET_CLIENT */;
/*!40101 SET CHARACTER_SET_RESULTS=@OLD_CHARACTER_SET_RESULTS */;
/*!40101 SET COLLATION_CONNECTION=@OLD_COLLATION_CONNECTION */;
At the very beginning, we have information about which IP we export from, what is the version of MySQL and PHP, when we exported the file, and more.
We have the comments marked in green, which implies we write comments using
two dashes --. Everything after these dashes on the same line will
be a comment. We start multiline comments with /* and end with
*/, as we know from most programming languages.
Next, we have consecutive SQL commands as they are executed during import.
Keep this file for now, we'll use it for import later 
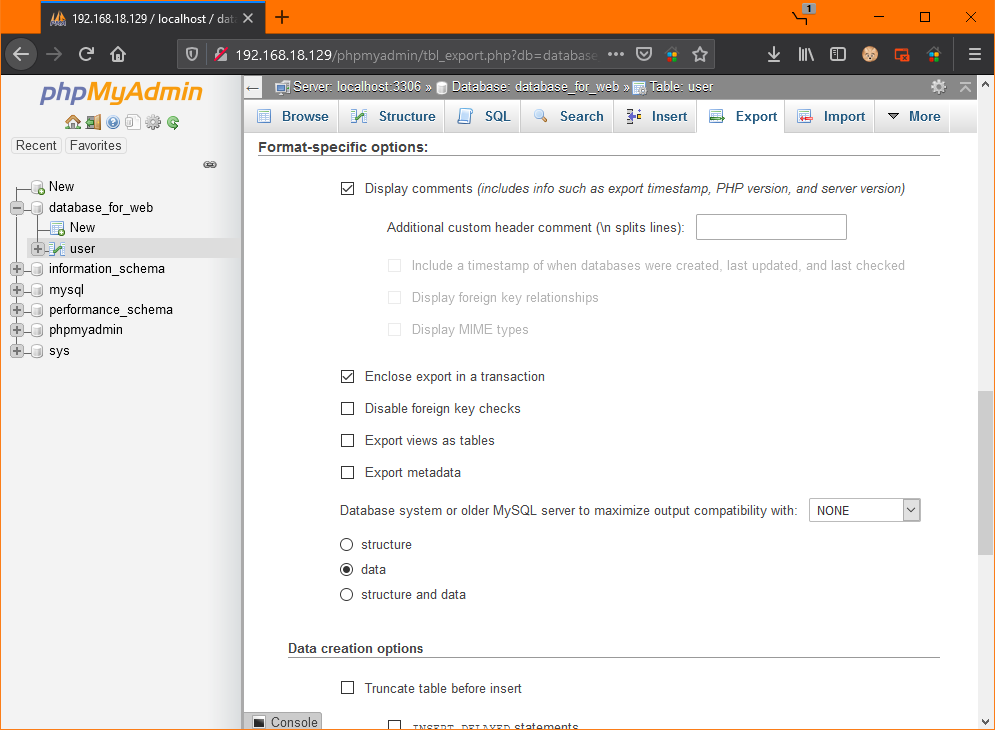
If we want to export only data, the procedure is the same, we only select the Custom Export method and specify only the data under the section "Format-specific options":
If we export the database, we'll have the following output in the export file:
-- phpMyAdmin SQL Dump
-- version 4.9.5deb2
-- https://www.phpmyadmin.net/
--
-- Host: localhost:3306
-- Generation Time: May 07, 2021 at 04:01 PM
-- Server version: 8.0.23-0ubuntu0.20.04.1
-- PHP Version: 7.4.3

SET SQL_MODE = "NO_AUTO_VALUE_ON_ZERO";
SET AUTOCOMMIT = 0;
START TRANSACTION;
SET time_zone = "+00:00";


/*!40101 SET @OLD_CHARACTER_SET_CLIENT=@@CHARACTER_SET_CLIENT */;
/*!40101 SET @OLD_CHARACTER_SET_RESULTS=@@CHARACTER_SET_RESULTS */;
/*!40101 SET @OLD_COLLATION_CONNECTION=@@COLLATION_CONNECTION */;
/*!40101 SET NAMES utf8mb4 */;

--
-- Database: `database_for_web`
--

--
-- Dumping data for table `user`
--

INSERT INTO `user` (`user_id`, `first_name`, `last_name`, `birth_date`, `articles_count`) VALUES
(2, 'Thomas', 'Brown', '1989-02-01', 6),
(3, 'Jack', 'Newman', '1972-12-20', 9);
COMMIT;

/*!40101 SET CHARACTER_SET_CLIENT=@OLD_CHARACTER_SET_CLIENT */;
/*!40101 SET CHARACTER_SET_RESULTS=@OLD_CHARACTER_SET_RESULTS */;
/*!40101 SET COLLATION_CONNECTION=@OLD_COLLATION_CONNECTION */;
You can delete this file, we won't need it anymore.
Exporting the Entire Database
We have a command for inserting data (INSERT), but it doesn't
contain a command for creating a database. Before importing this file it's
necessary to have a database created. If we want to have the entire database in
the export, we must click on a specific database in the left navigation menu and
then click Export. We need to select Custom
Export Method and add the Add CREATE DATABASE / USE
statement below the Object creation options heading.
This puts the database creation in the export at the beginning, and anyone who
will import it doesn't have to manually create the database and think about what
the collation should be like. We can also select which tables we want
to import.
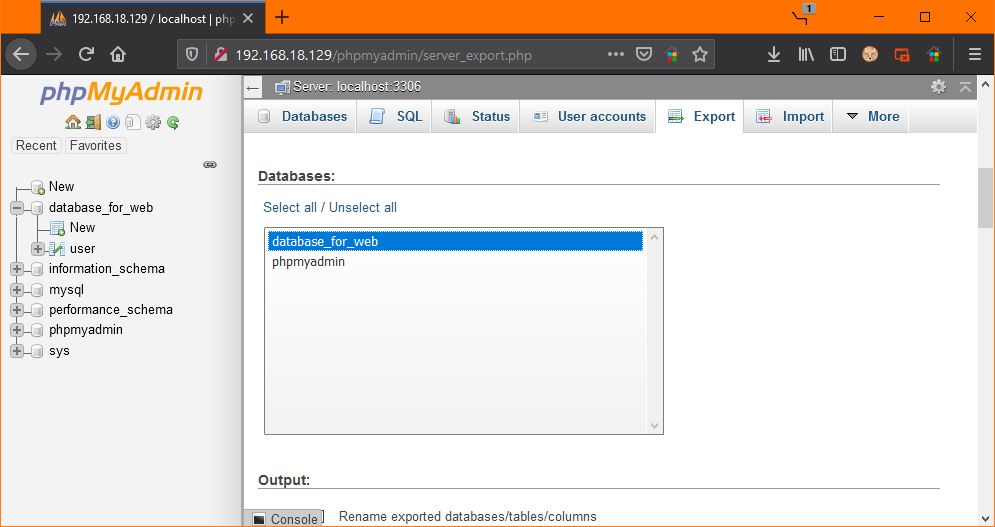
Exporting Several Databases at Once
In order to be able to export all databases at once, it's necessary to navigate to the main page of phpMyAdmin and click on the Export button. We'll choose custom export method, so that we have the option to specify the databases we want to export:
It is then a good idea to navigate below again and ensure that the commands for creating these databases are added to the export.
Download
By downloading the following file, you agree to the license termsDownloaded 175x (1.59 kB)
